The Poured Rubber Surfacing Installation Process
How our experts install your playground and safety flooring.
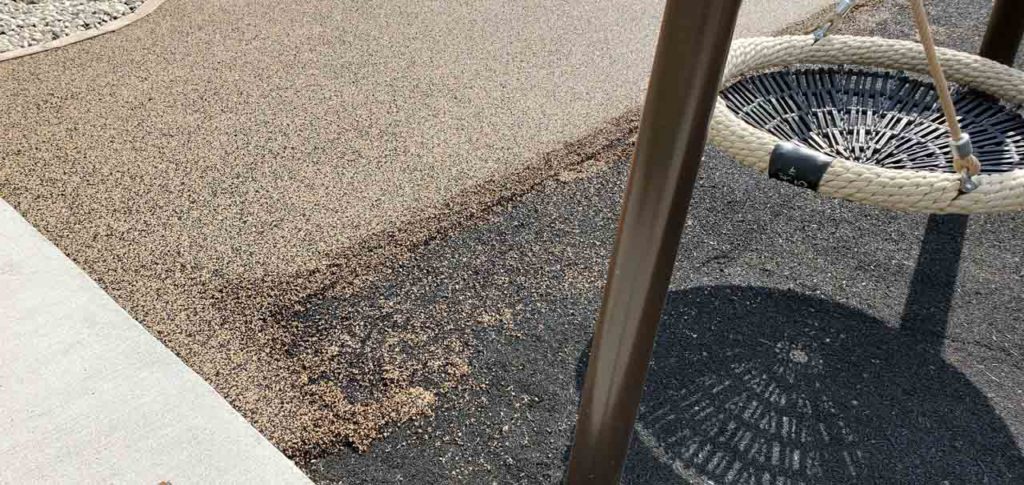
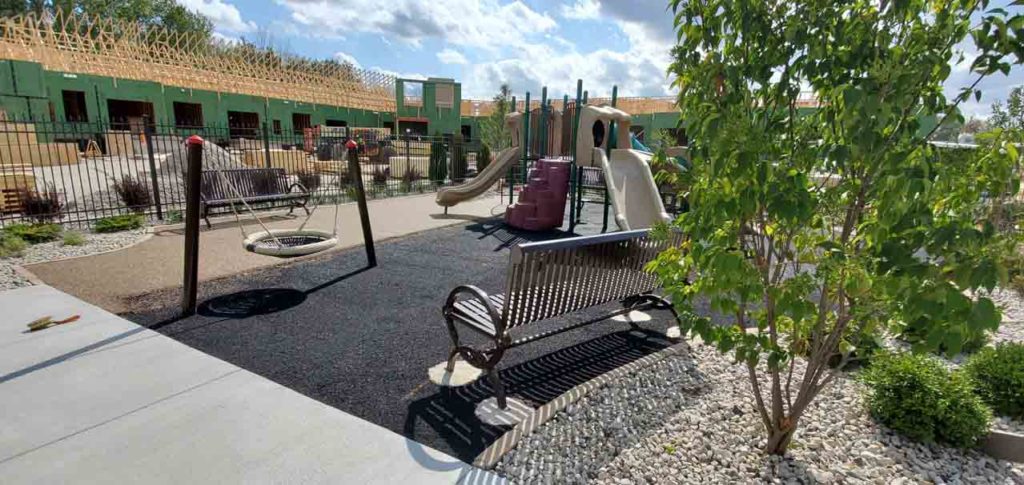
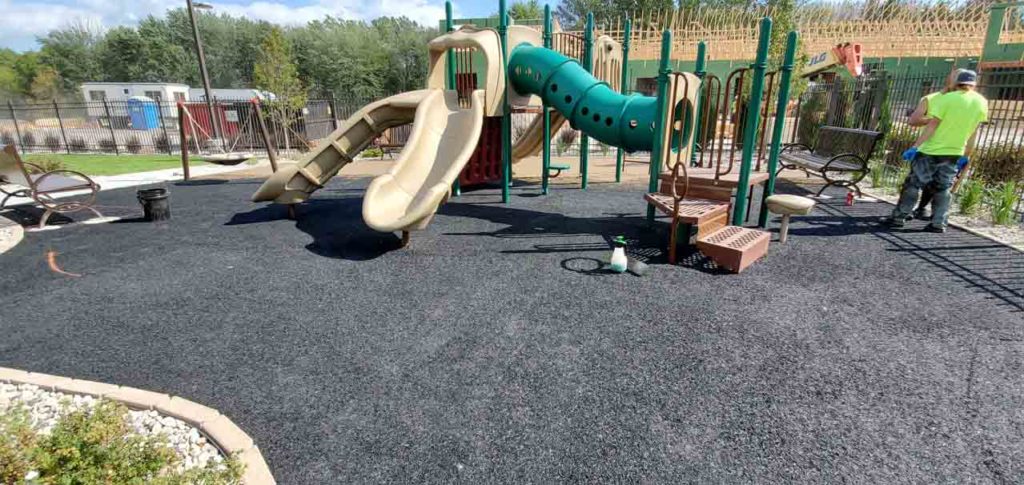
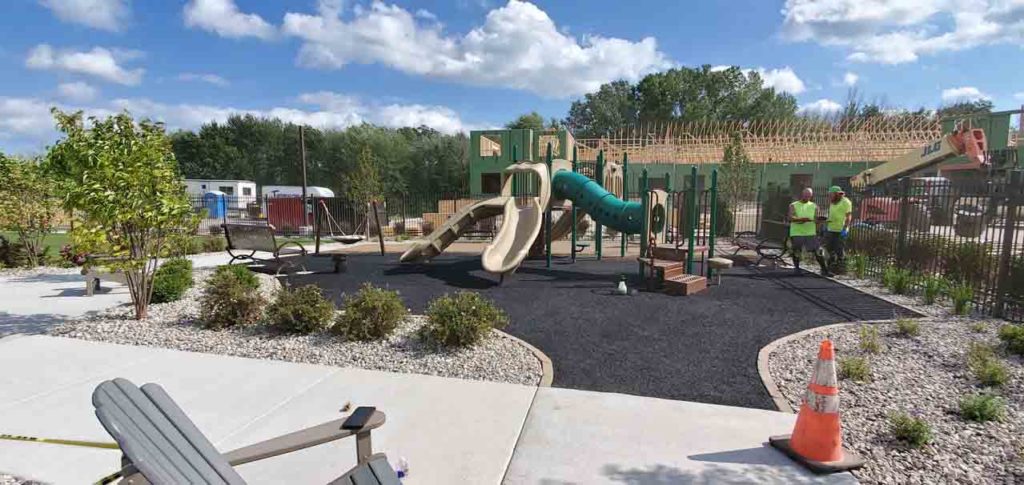
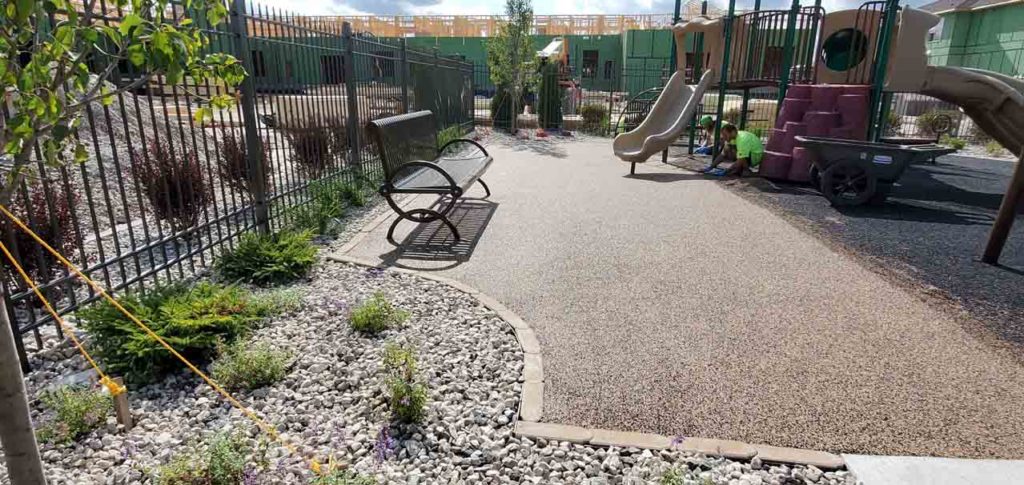
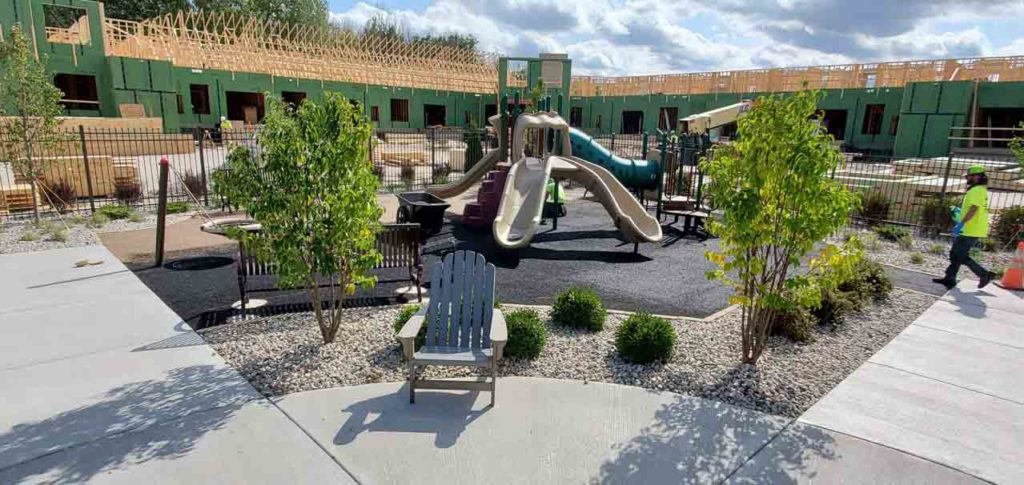
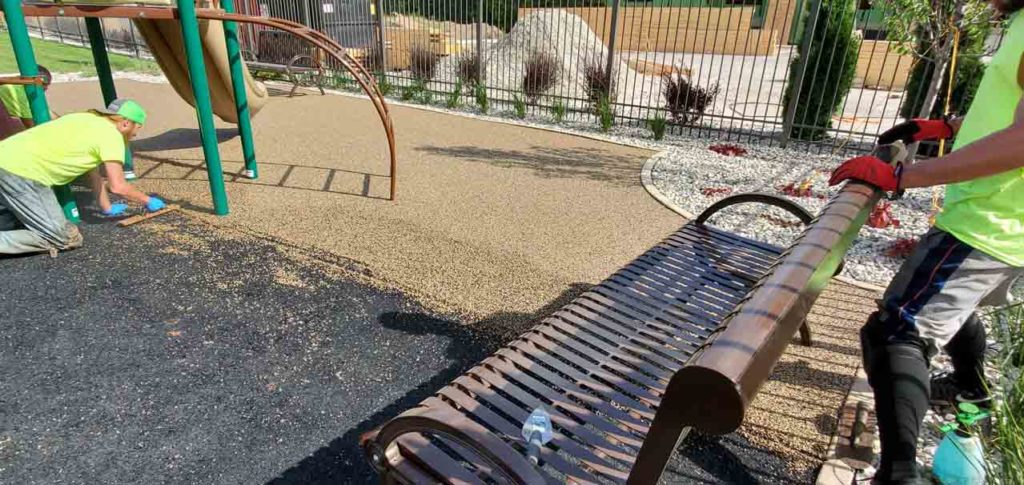
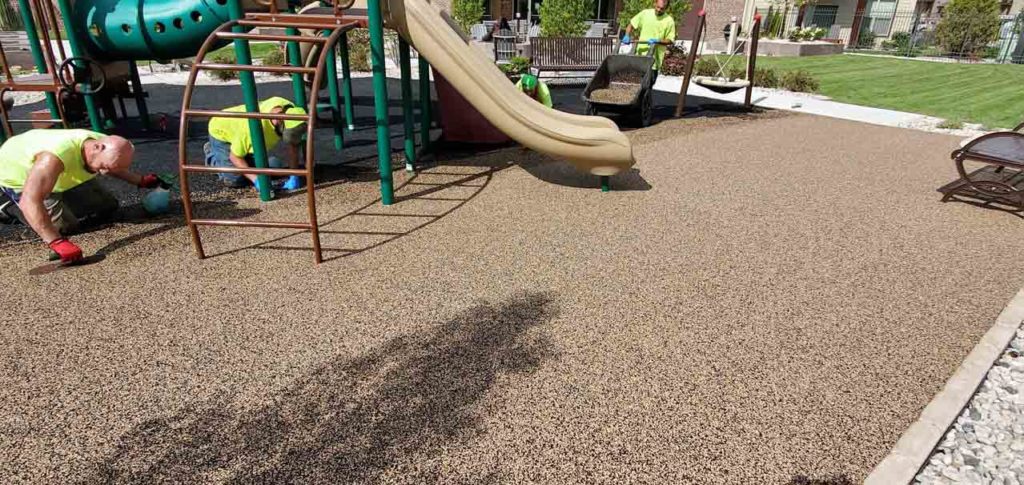
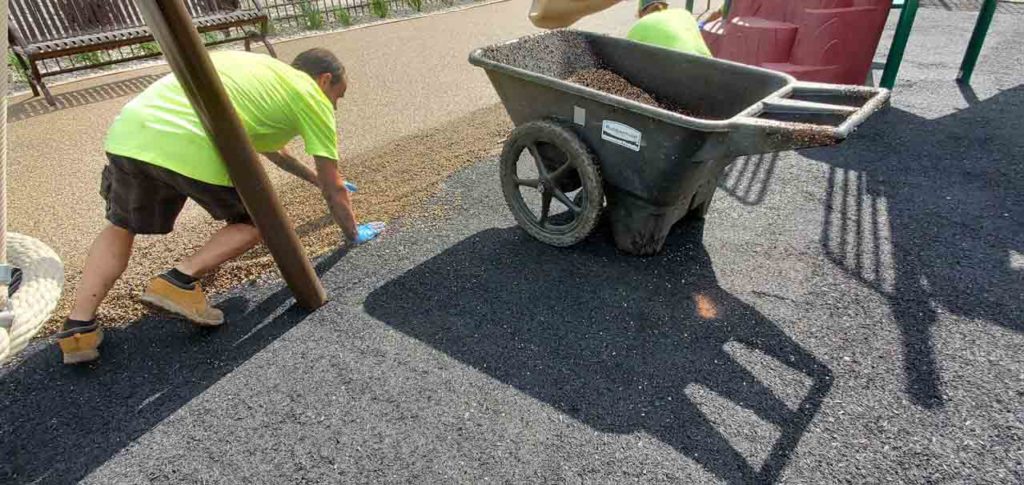
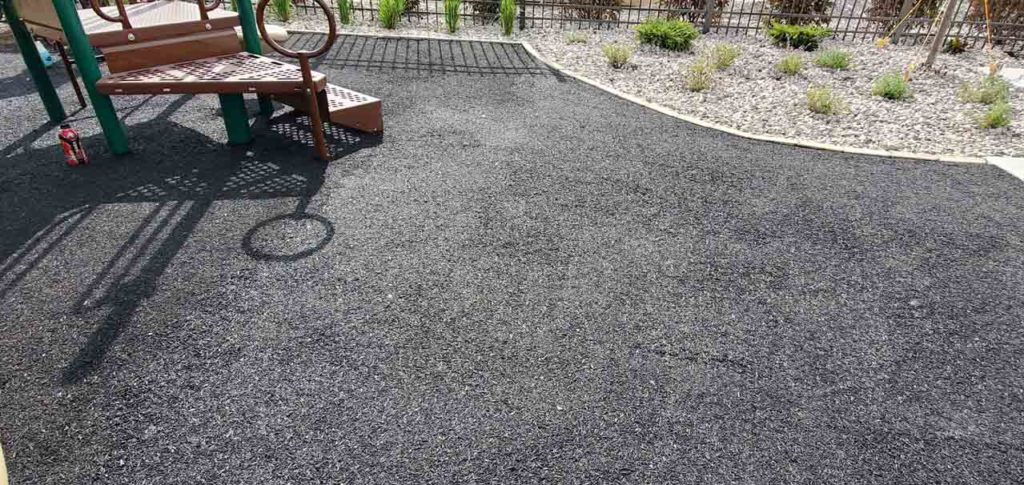
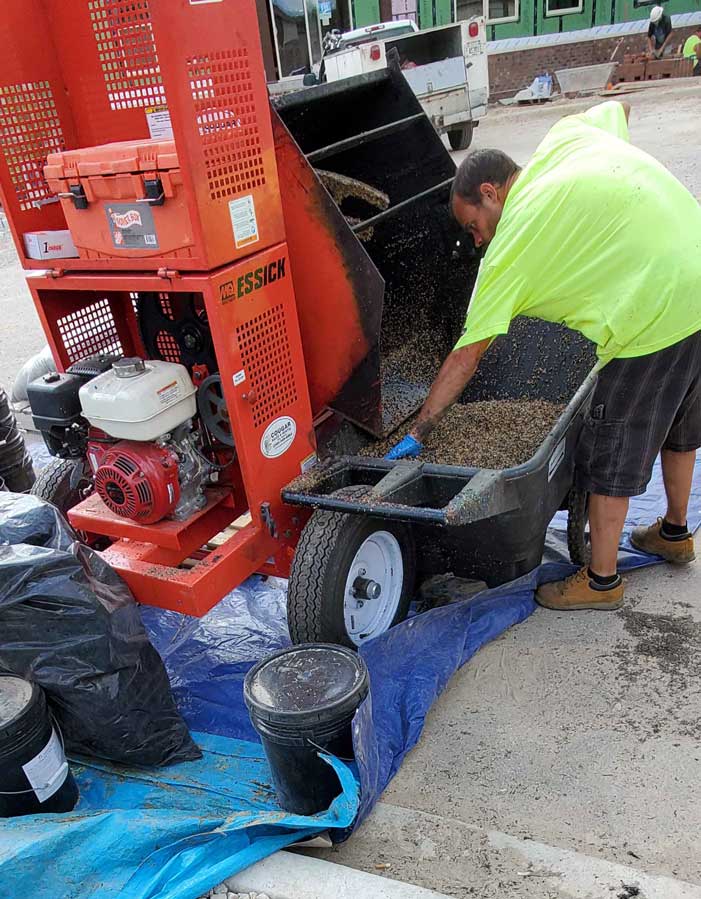
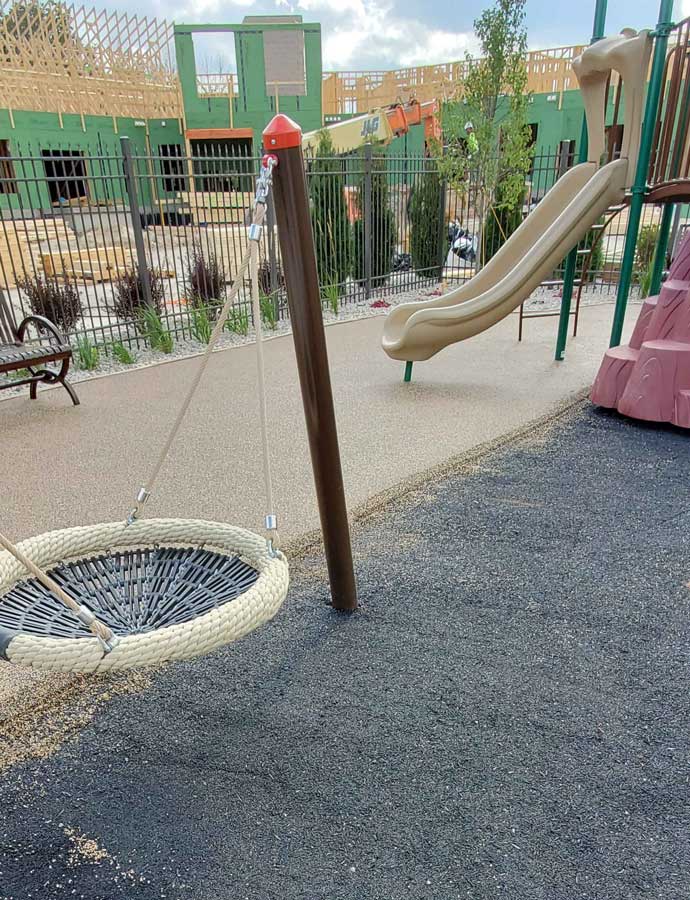
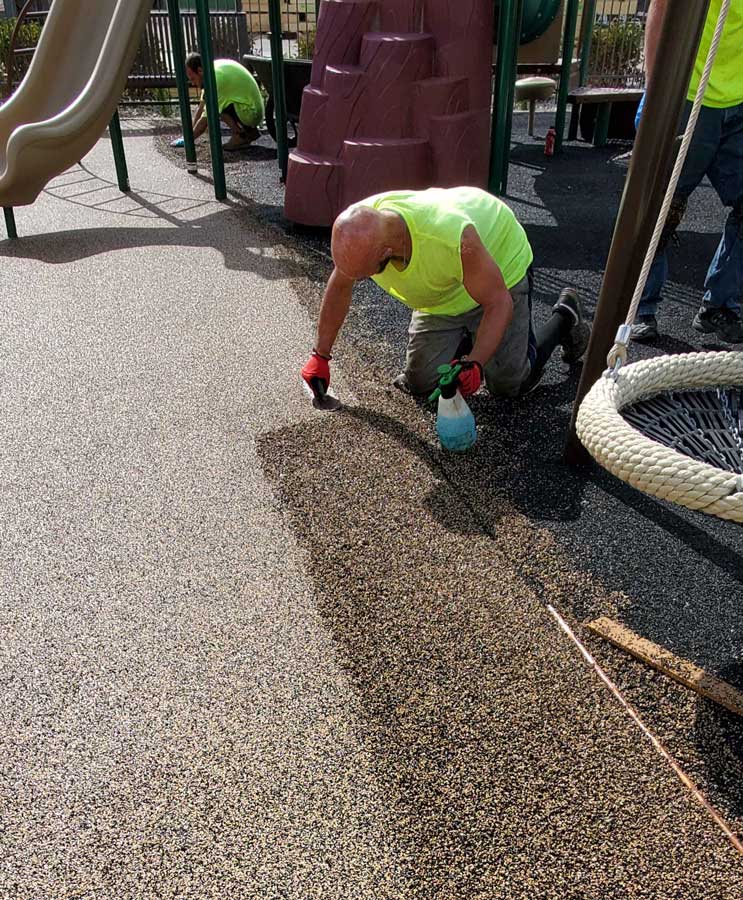
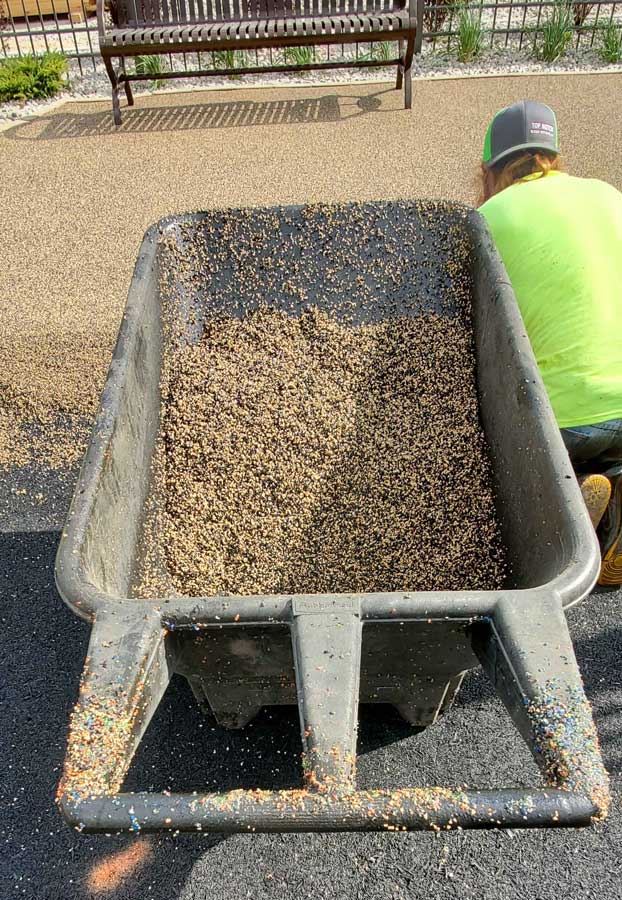
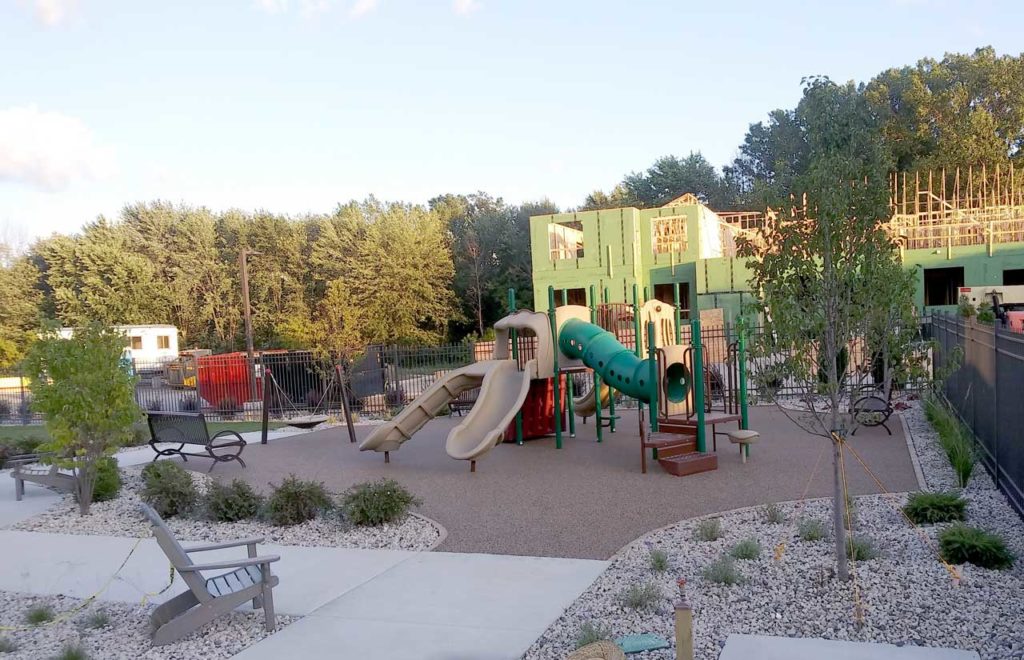
If you’ve ever wondered how our pour-in-place rubber flooring is installed, we’re here to unravel the mystery! Check out the videos of our playground surface installation experts at work. We show footage of the mixing and installation processes, alongside photos from one of our recent projects.
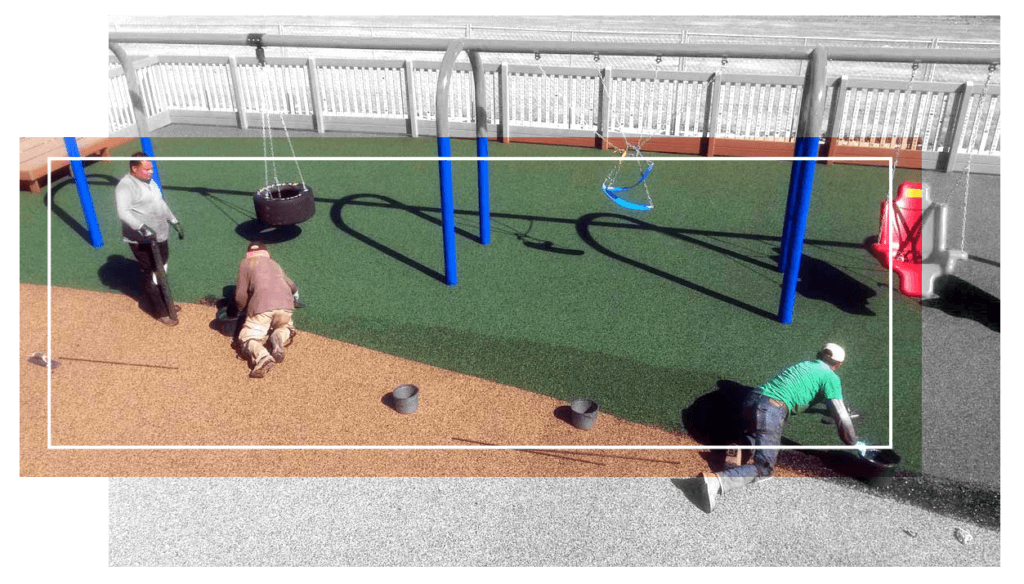
If you’re eager for more information, here’s a guide to our fascinating poured rubber installation process:
What Is Pour-in-Place Rubber Surfacing?
Poured-in-place (PIP) rubber is the top choice for playground surfacing. This innovative option offers unlimited design possibilities, allowing you to create colorful and patterned play areas.
PIP rubber is composed of Ethylene Propylene Diene Monomer (EPDM), which is a form of synthetic rubber. An EPDM rubber surface is UV-light resistant and holds up well against the elements. Unlike most loose-fill materials, a PIP rubber safety surface delivers a flat and even playground, so it maintains consistent protection against falls throughout the entire play area. Since adventureTURF is passionate about accessibility, our PIP surfacing meets ADA standards for accessibility. Its smooth and level surface is perfect for wheelchairs and other mobility aids, making it an ideal choice for public playgrounds.
But safety and accessibility aren’t the only advantages. PIP rubber is exceptionally convenient and easy to clean. It doesn’t retain dirt or debris and quickly drains and dries after wet weather, allowing uninterrupted playtime for the kids at your facility. You can sweep, blow, or wash away dirt and leaves, and keep your playground looking its best.
Guide to adventureTURF’s Pour-in-Place Rubber Installation
From site preparation to the final smooth finish, our experts handle every step with expert precision. Here, we break down the major steps of playground surfacing installation.
Surface Preparation
Pour-in-place rubber flooring can be installed over various surfaces like paving, cement, asphalt, wood, and more. Before we installed EPDM granules, we clean the surface thoroughly using a high-pressure washer. We let the surface dry completely before continuing.
When we apply rubber around a pool, primer is necessary for proper adherence to the concrete. Without proper priming, your surface won’t reach its full potential and won’t last as long as it should.
To prepare for priming, we ensure the area is thoroughly cleaned. If it’s dirty, we pressure wash it with an appropriate detergent. After cleaning, we allow the area to dry completely for at least 48 hours before proceeding.
When we’re ready to install the rubber surface, we prime the areas we plan to work on within the next hour, including priming edges and obstacles with specialty primer. Then, we roll out the main primer between these areas using a paint roller designed for adhesives.
Mixing the Rubber Granules
After we sketch out your chosen design, the loose granules are mixed thoroughly with an aliphatic binder in the proper ratio. Aliphatic binders are more resistant to color fading than traditional aromatic binders. We add the mixture to an angle mixer and thoroughly mix until no rubber and binder resin balls are visible. This step is crucial for achieving the desired consistency. Once the mixing process is complete, we have a window of 30 to 40 minutes to install your mixture.
Pouring the Final Product
Once thoroughly mixed, the granules and adhesive are transferred to a wheelbarrow for easy pouring onto the playground surface. To ensure that the poured rubber adheres well to the surface, we apply a base coat of aliphatic adhesive. After we install the EPDM granules accurately in your design and colors, they are leveled with a wooden trowel.
To ensure a successful installation, the surface and air temperature should be between 10 and 28 degrees Celsius (50-82F) during installation and for the following 24 hours.
Safety layer
To keep playgrounds and pools safe, it is essential to have a reliable safety layer. We recommend using black SBR rubber granules as an underlayer to minimize the risk of injuries from falls. The thickness of the rubber layer will depend on the height of potential falls.
For optimal results, we recommend a 4-6 inch compacted crushed stone base. Our systems also meet or exceed ASTM safety standards and are compliant with the Americans with Disabilities Act (ADA).
Poured Rubber FAQ’s
Here are some questions we often hear about our pour-in-place rubber surfacing:
The good news is that PIP surfacing can be installed in a variety of different ways to meet different budgets. The best way to save on the materials and installation cost is to use a 50/50 color/black mix. Believe it or not, the colored rubber is the most expensive portion of the cost of installation. Check out our playground installation project gallery, which includes mostly 50/50 black/color installs.
While we recommend a 2% slope, our material can be applied to even steeper slopes of up to 30 degrees. This allows you to transform hillsides and slopes into engaging play areas, adding captivating visual interest to your space. We can make use of your topography and extend your play area. Whether it’s mounds, hills, or elevation changes, our rubber surfacing is perfect for any terrain.
While you may find some DIY installation guides online, an EPDM rubber surface install is best left to professionals. To ensure the longevity and safety of your playground, you need proper sub-base and surfacing installation. Otherwise, you will risk premature cracks, potholes, and crumbling due to insufficient preparations.
By correctly implementing the playground sub-base, it is protected against natural issues and common maintenance problems and will save money in the long run. You have enough on your plate while managing your facility, so leave the playground surfacing installation process to adventureTURF!
Get a Smooth Installation with adventureTURF!
Working with adventureTURF is as seamless as your new playground surface will be! We handle every aspect of your project, from logistics to installation. This streamlined integration ensures a smooth process and top-notch service from day one. Our highly-trained staff prides themselves on maintaining a commitment to quality customer service and integrity.
Transforming play areas nationwide, adventureTURF is the leading expert in rubber flooring installation for schools, daycare centers, pools, and parks. From start to finish, we offer a full range of services to bring your flooring project to life. Our team excels in site preparation, debris removal, retaining walls, drainage solutions, landscaping, and a variety of playground and safety surface options, including PIP rubber, rubber tiles, rubber pool decking, and water play surfacing.
With over a decade of installation experience, we are proud to be one of the largest nationwide installers of poured-in-place rubber. Unlike other contractors, our dedicated crews focus solely on playgrounds and rubber surfacing, ensuring industry-leading techniques and meticulous attention to detail. This guarantees that your surface is installed to the highest standards.
Join the ranks of satisfied customers across the country who love their new poured or tiled surfaces. Contact adventureTURF today to see our incredible installation process in action at your playground!
Need help planning & budgeting your surfacing project?
Construction Companies & Contractors
See how we can work with you to install a poured playground or pool deck surface for your next job.
+Schools, Churches & Daycare Centers
Learn how we can work with you to install a safe surface on your playground.
+Playground & Landscape Designers
We can work with you to install a safety surface on the play area for your community project.
+HOA & Community Associations
We will install safety surfacing on your neighborhood playground or common area.
+